How to Install a VPN on macOS

The Internet is an unmatched source of information and means of communication. But it is also packed with perils like cyberattacks and invasions of privacy. Utilizing a VPN on your macOS will significantly reduce those risks while also helping you bypass regional censorship and streaming restrictions.
There are two ways to install a VPN on your macOS. The first and easiest (A) is downloading the dedicated app from the provider’s website. The second (B) is a bit more tricky: Set it up manually.
Mac VPN: Method A Summary
Time needed: 2 minutes
Get your VPN up and running on your router in no time. Scroll a bit further for the complete detailed guide.
- Subscribe to a premium VPN.
Visit the VPN website and sign up to create an account. Both ExpressVPN and BulletVPN have excellent macOS apps.
- Download the VPN app.
Go to the app page on the VPN website, select the Mac or macOS application, then click download.
- Open and sign in.
Launch the app once the installation process is complete, enter your account credentials, then hit the “Sign in” button.
- Connect to a VPN server.
Select your preferred server destination and hit connect.
- Enjoy online privacy and freedom.
Browse safely, anonymously, and without restrictions on your Mac desktop or laptop.
Best VPN for macOS
With plenty of VPN services to choose from, it is vital you get the right one. Only premium providers can bypass geo-blocks, avoid detection, protect your data, and offer high-speed servers. Free VPNs, on the other hand, collect your data and sell it to make money. They are also inconsistent when it comes to unblocking, slow, and sometimes compromised.
We have tested dozens of VPN services over the years using our never-failing evaluation methodology. And according to our findings, the number 1 VPN to consider for Mac devices is ExpressVPN. It has a very clean macOS app that comes with all the bells and whistles. That includes military-grade encryption, a zero-logging policy, an automatic kill switch, Lightway VPN protocol (like WireGuard), and independent auditing.
The company also has thousands of servers in 94 countries, allowing one to access geo-restricted content. It even offers a full refund during the first 30 days if you don’t like the service.
Our experts were also impressed with several other VPNs, namely BulletVPN. It was the only provider with a perfect streaming record in 2021 (and so far in 2022 all the way to 2023).

- 30-Day Money-back Guarantee
- Unlimited Bandwidth
- Apps For All Your Devices
- 24/7 Live Support


Method A: Install the App
The easiest and quickest way to install a VPN on your macOS desktop is by downloading it straight from the provider’s website. Premium VPNs have compatible apps with every major operating system, including macOS. We’ll use BulletVPN as an example.
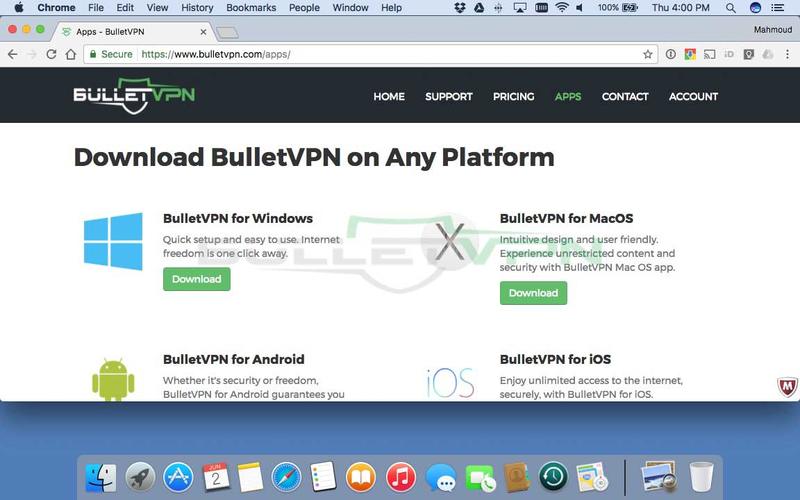
- Go to https://www.bulletvpn.com/
- Select “Apps” from the menu bar at the top of the page, followed by “Download” under “BulletVPN for MacOS”

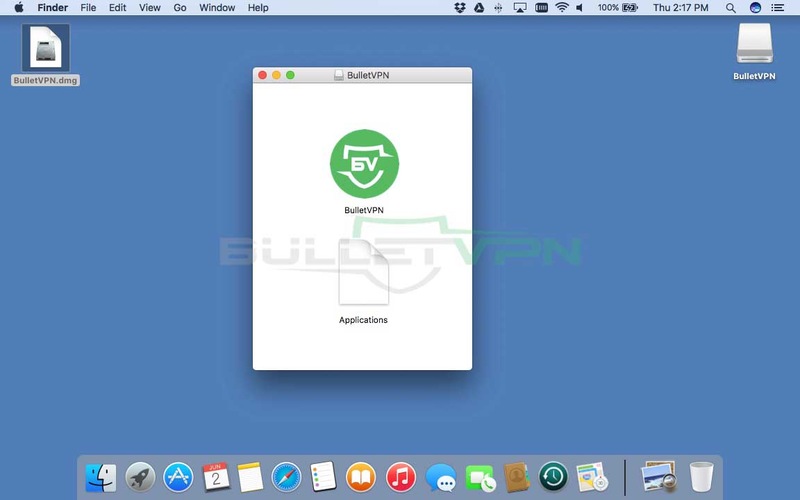
- Once the download is complete, double-click “BulletVPN.dmg” to mount it. Then, drag the BulletVPN app to your Applications folder
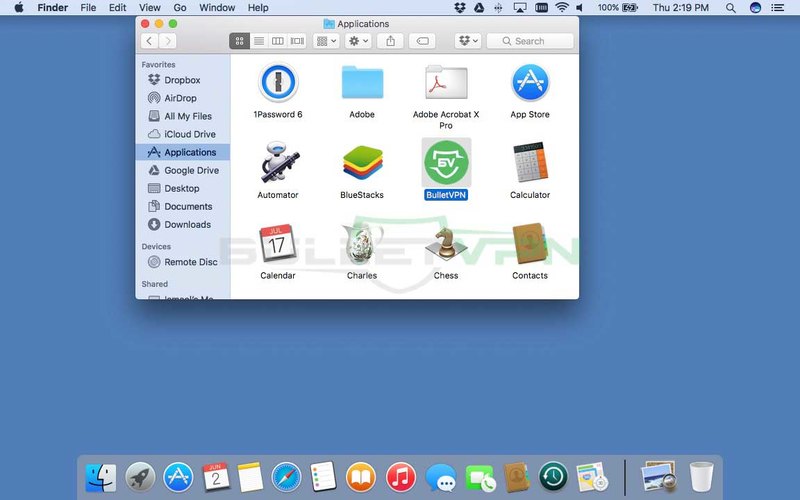
- Open the Applications folder
- Double-click BulletVPN to launch the app
- Next, click “Open”
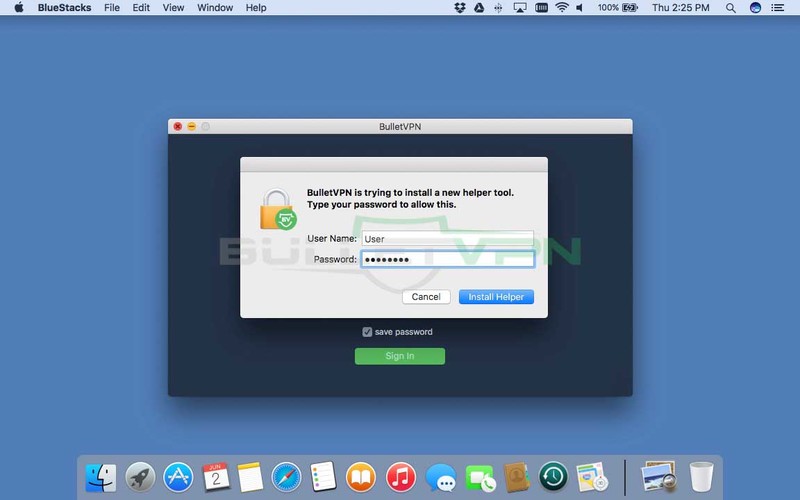
- Enter your Mac username and password to install BulletVPN’s helper tool
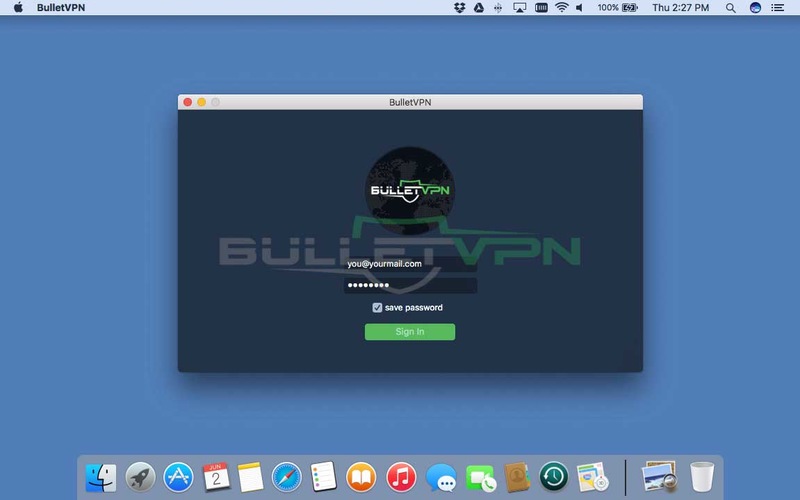
- Next, enter your BulletVPN credentials (username and password) to sign in
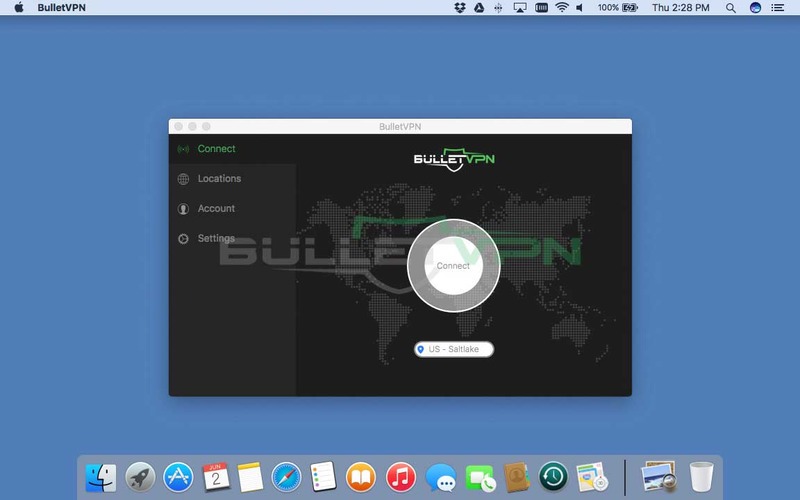
- After signing in, press “Connect” to connect to the default server location
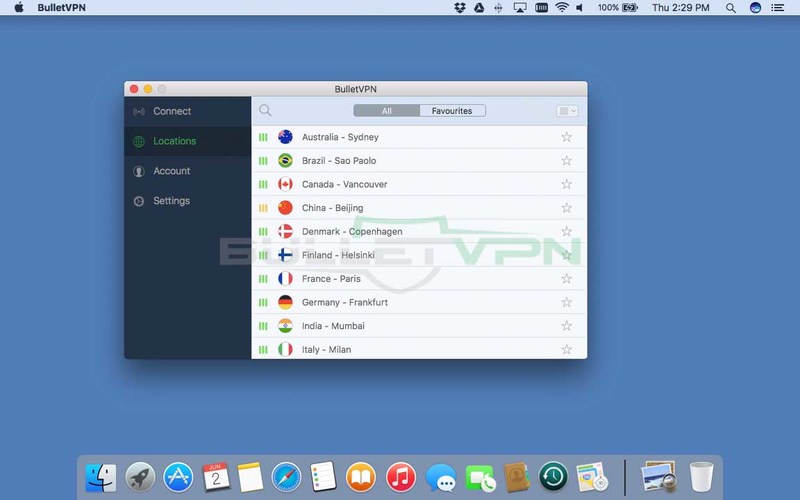
- If you wish to select another server, click “Locations” from the side menu on the left, then choose your preferred destination
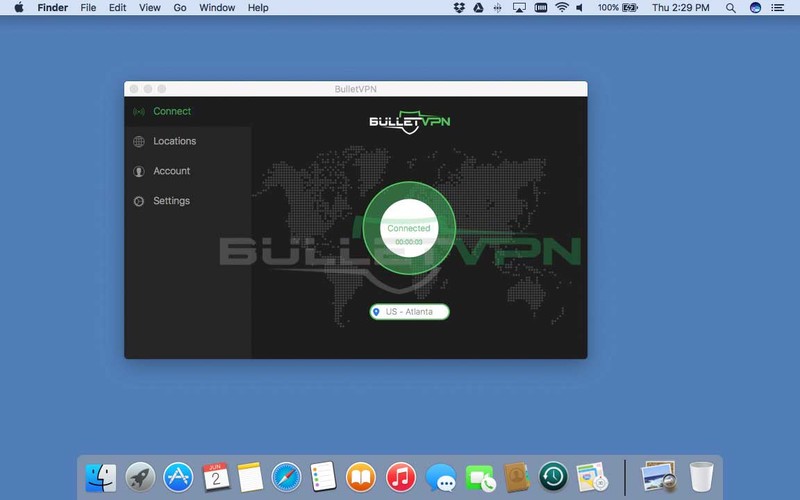
- After returning to the home screen, hit “Connect”
- When the connect button turns green, your VPN connection is up and running


Method B: Manual Setup
If your VPN provider does not have a dedicated app for macOS, or you don’t want to download it to save space, you’ll have to set it up manually. We recommend the first method, though, as it’s much easier and safer.
Nonetheless, setting up the OpenVPN software on your Mac is your best alternative, especially for privacy-conscious users. We recommend TunnelBlick, free, open-source software for macOS.
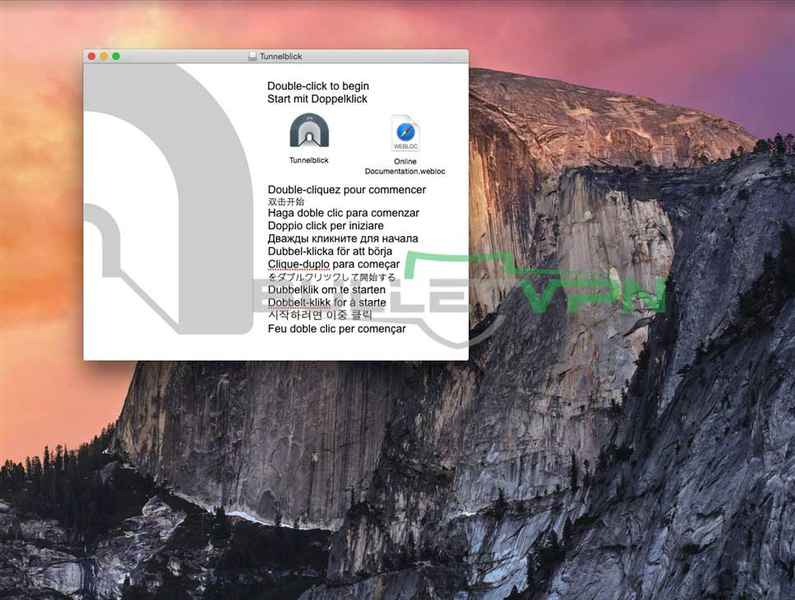
You’ll need to download Tunnelblick and OpenVPN TunnelBlick files to configure TunnelBlick.
- Double click “Tunnelblick setup file” -> double click “Tunnelblick”
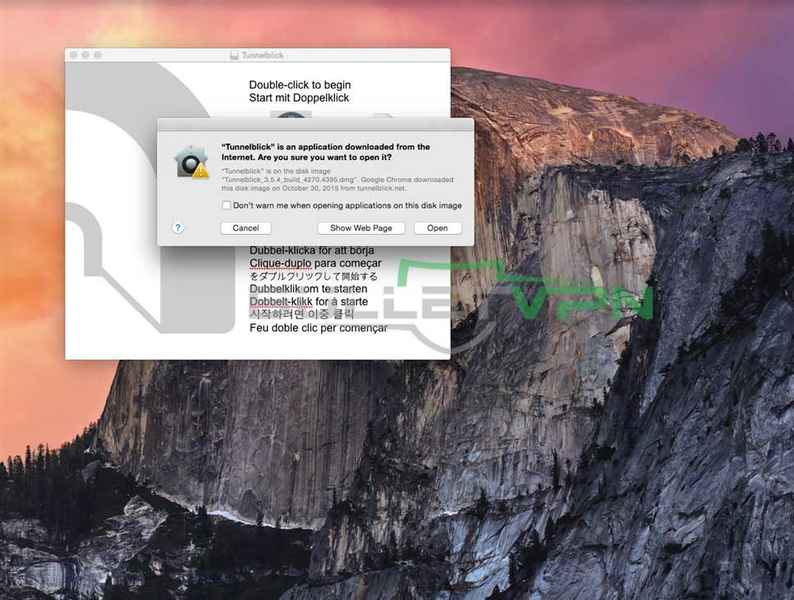
- Click “Open”
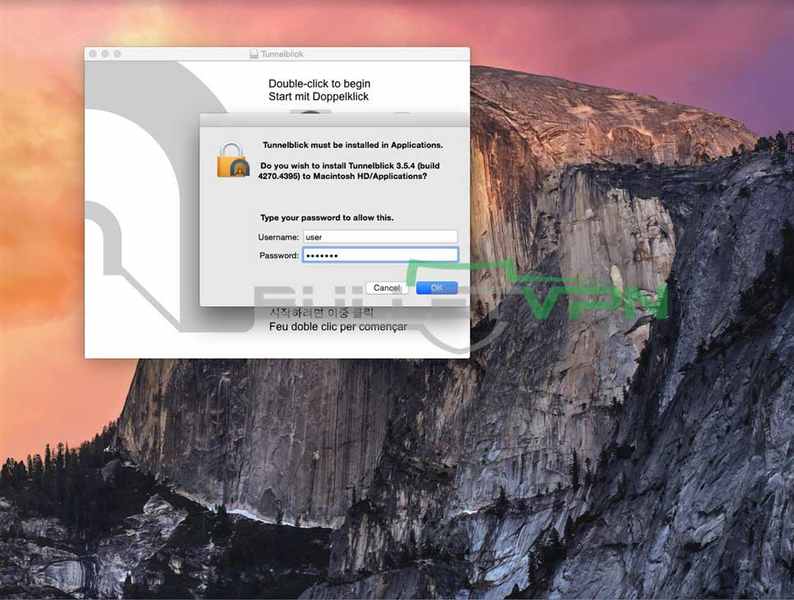
- Enter your Mac password, then click “OK”
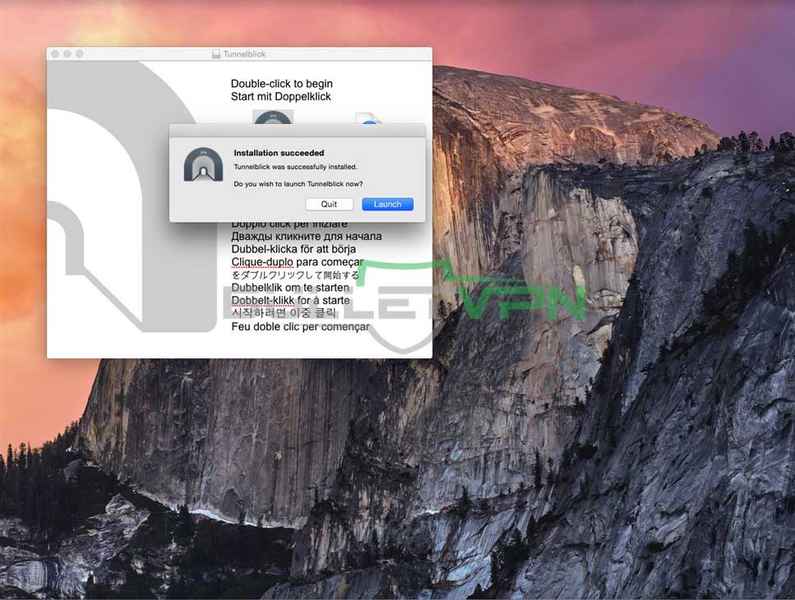
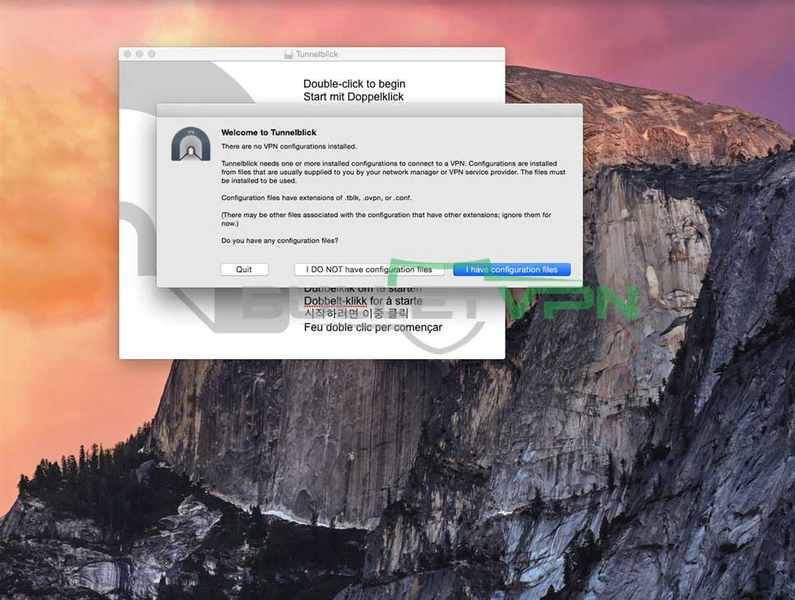
- Hit “Launch”
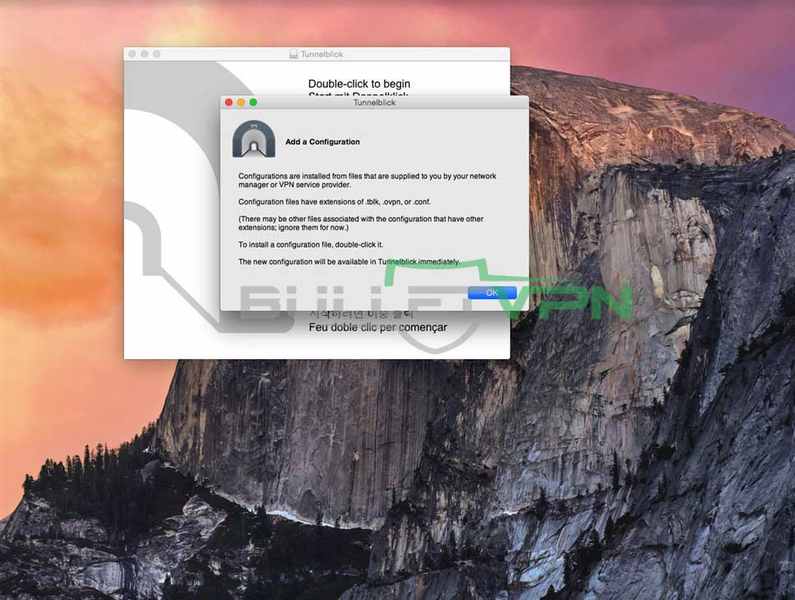
- Choose “I have configuration files”
- Click “Ok”
- Follow the below steps
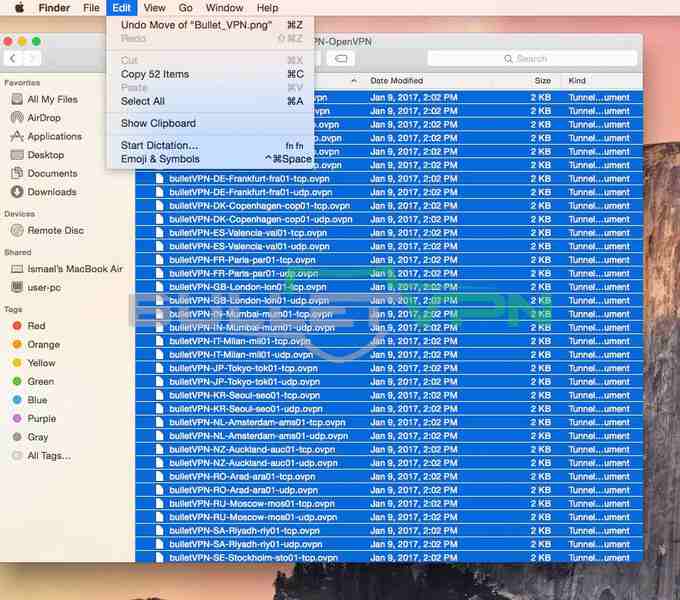
– Double click the downloaded OpenVPN configuration file
– Click “Edit” in the menu bar, followed by “Select All”
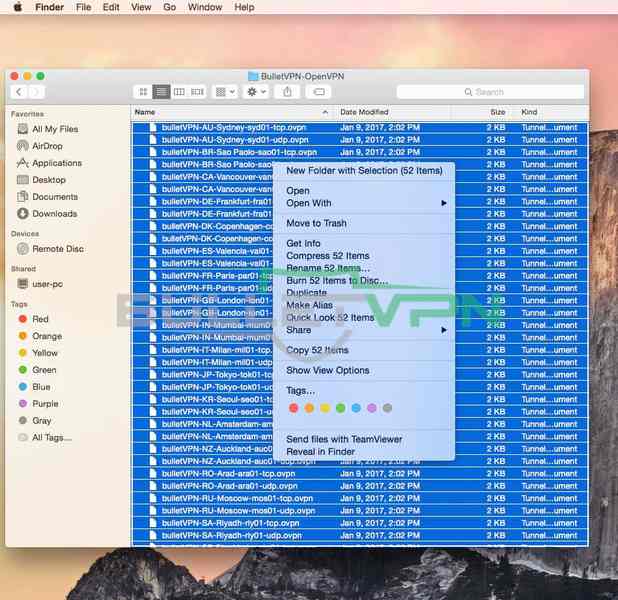
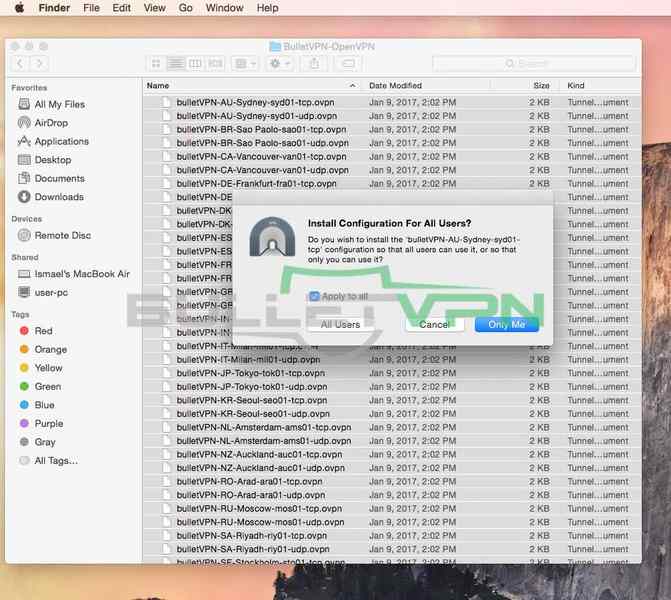
Note: Sometimes Tunnelblick does not add configuration files if already opened. Quit Tunnelblick, then follow Step 7 again - When the whole server list is highlighted, right-click it, then select “Open”
- Select “Only Me” and check “Apply to all”
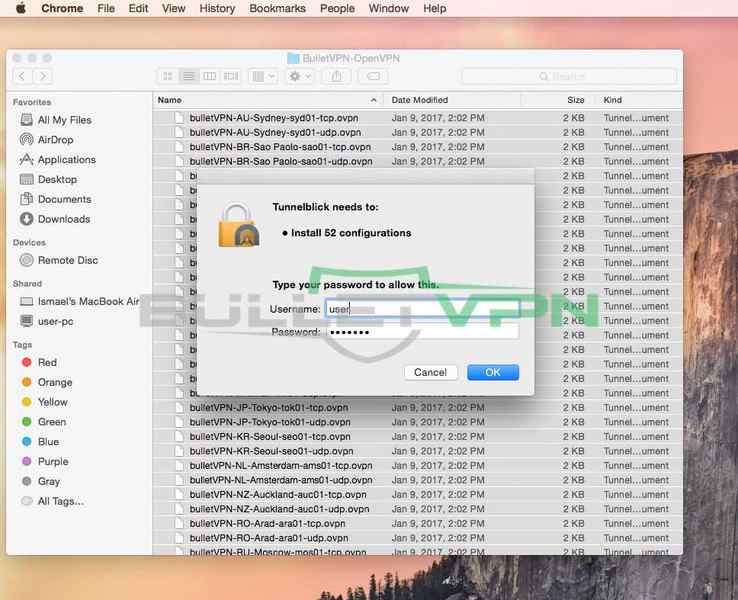
- Enter your Mac password and click “Ok”
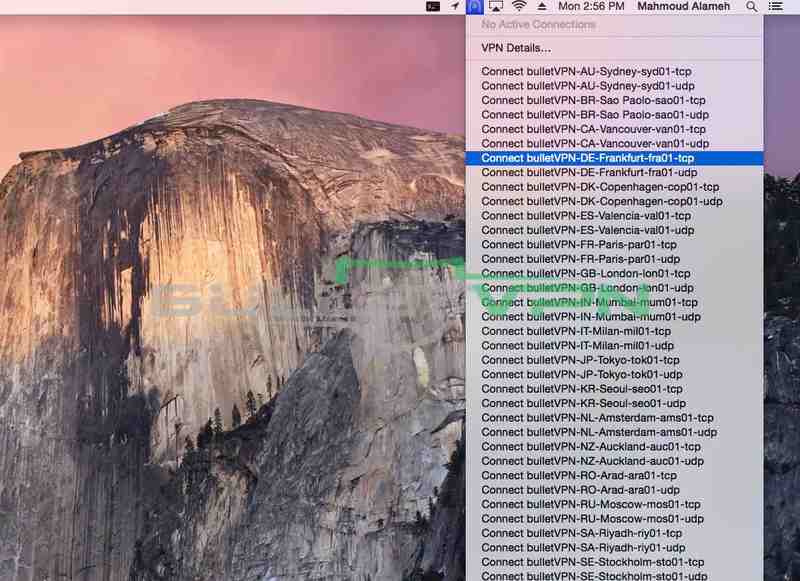
- Click the Tunnelblick icon from the Menu bar and select the server
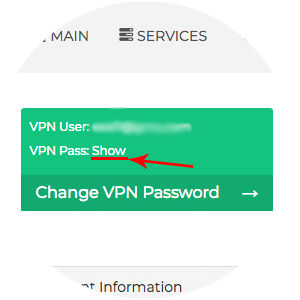
- Enter the following information:
– Your email address and the VPN password that “BulletVPN” provided. You can find your VPN password Here
– Check “Save in Keychain” to save your account details
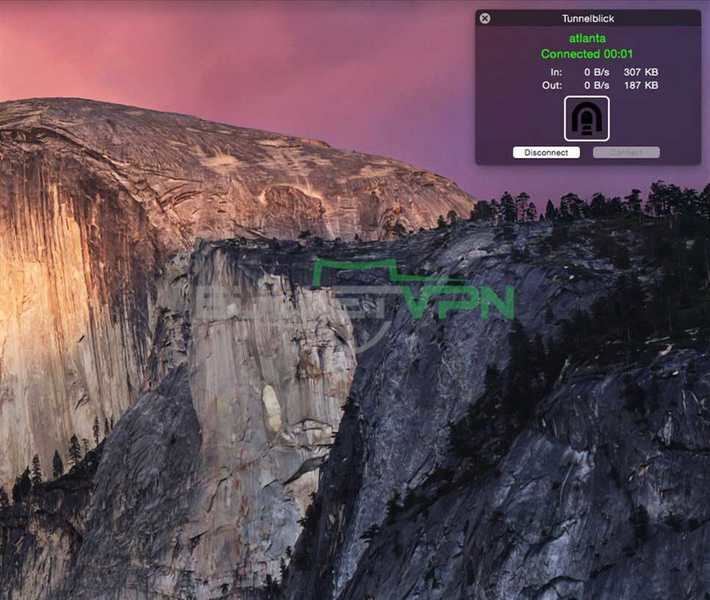
– Click “Ok” - You are now connected to BulletVPN.
To disconnect, click the Tunnelblick icon from the Menu bar and hit “Disconnect.”

VPN for macOS – FAQ
Take a look at our readers’ most asked questions to find out more.
Do I need a VPN on my Mac?
Good VPNs protect your sensitive data and online activities when you’re using your Mac laptop while connected to public WiFi. You’ll also enjoy anonymous browsing and unrestricted access to geo-blocked or censored content. Therefore, we recommend connecting to a VPN when using your macOS device.
Is a VPN safe for Mac?
It depends on which VPN you’re using. Premium services like ExpressVPN and BulletVPN protect your data using grade-A features. They also implement strict no-logs policies, meaning no one will be able to track your online activities, including them.
Are free VPNs safe?
We never recommend free VPNs because they make money by stealing and selling your data. They also offer a limited number of servers and apply data caps.
How to install a VPN on Mac?
Top VPNs have dedicated apps for devices that run on macOS. All you have to do is:
- Sign up
- Download the Mac app from the VPN website
- Sign in and connect to a server of your choice.
Can I use my VPN on other devices?
Yes. Premium VPNs allow a minimum of 5 simultaneous connections per account. That means you can protect up to 5 devices with a single subscription. Alternatively, set up a VPN on your router and protect any device connected to your WiFi.
Install VPN on macOS – Final Thoughts
Premium VPNs increase your online privacy, security, and freedom. You will never go wrong by installing one on your Mac. The easiest way is to download the customized app directly from the provider’s website.
But if you want to save space and still get VPN protection and access, you can set up the OpenVPN software TunnelBlick.