How to Set Up a VPN on Your iPhone/iPad
You could never go wrong with a VPN for your iPhone or iPad. These tools, provided you get the right one, protect your online privacy and give you unrestricted Internet access.
In other words, no one will be able to monitor or steal your valuable data when you’re connected to public WiFi. Moreover, you can unblock any streaming platform and watch your favorite shows or sports.
There are two ways to download a premium VPN on your iOS device. (A) Install the dedicated app directly from the App Store or the VPN’s provider website, or (B) manually set it up on your iPhone/iPad.
iPhone VPN: The Easy Method
Time needed: 2 minutes
Install the VPN app on your iPhone and iPad with just one tap. A more detailed guide is available a bit further down.
- Go to the App Store and enter the VPN’s name in the search bar.
All premium VPNs, like ExpressVPN and BulletVPN, have dedicated apps for iOS devices like iPhone and iPad.
- Select the VPN app then tap “Get”.
It will take a minute or so for the VPN app to install, depending on your internet connection.
- Hit “Open” to launch the app.
Then, enter your VPN credentials and sign in.
- Choose a VPN server and tap “Connect.”
You’ll have dozens of server locations to choose from.
- Enjoy online privacy and freedom.
Once the VPN button turns green, you’ll be able to browse anonymously and access geo-restricted content.
Best VPNs for iPhone and iPad
Choosing the right VPN for your mobile phone is tricky. You need a reliable service with a proven track record in privacy, data protection, and full internet access.
We tested dozens of VPN providers and only shortlisted the ones that work best with iPhones and iPads. The industry-leading ExpressVPN topped our list, thanks to a global server network, strict no-logs policy, military-grade encryption, and great speeds for streaming and gaming.
Other VPNs also impressed us, namely BulletVPN. It’s the only service with a perfect unblocking record, giving you access to Netflix, Disney+, ESPN+, BBC iPlayer, DStv, Kayo Sports, and much more. There’s also AES 256-bit encryption, a zero-logging policy, and a 30-day money-back guarantee.

- 30-Day Money-back Guarantee
- Unlimited Bandwidth
- Apps For All Your Devices
- 24/7 Live Support


Method A: Install the App
The easiest and quickest way to install a VPN on your iOS device is by downloading it from the App Store. Every premium provider offers dedicated mobile apps, meaning the setup process is automatic and instant.
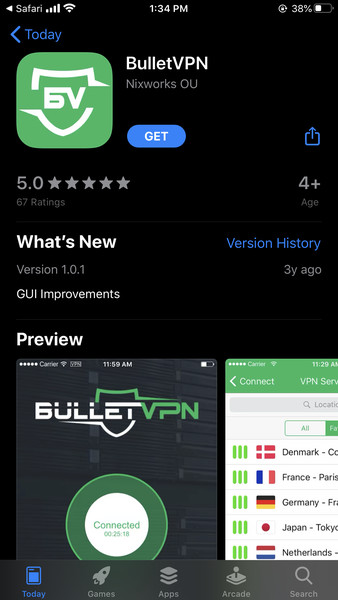
- Search for the name of the VPN provider in the App Store, then tap “Get” to download. We’ll use BulletVPN as an example.

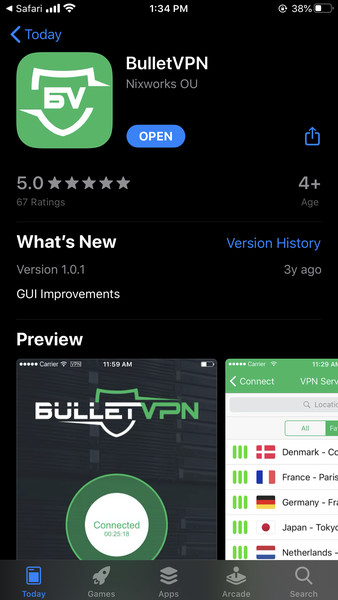
- Once installation is complete, tap “Open.”
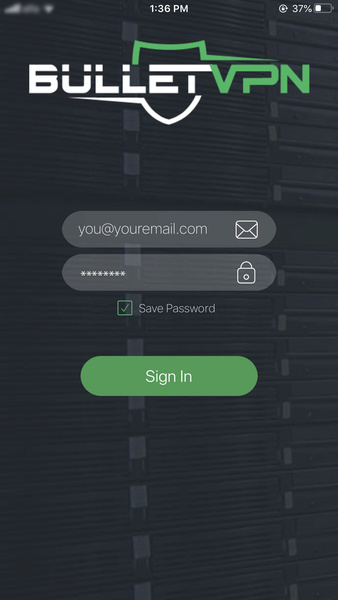
- Submit your account credentials, then hit “Sign In.”
- After signing in, the app will require permission to add a VPN configuration in iOS. Tap “Allow” to permit it.
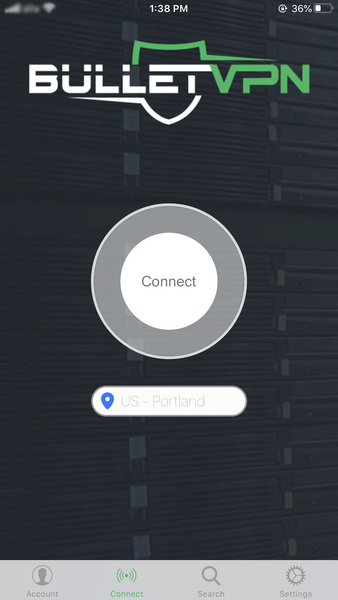
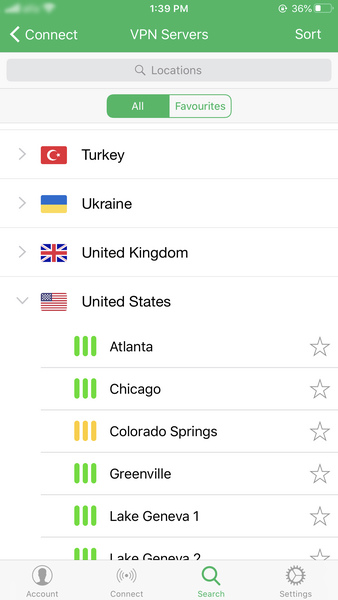
- Tap on the server location to switch VPN servers.
- Select your preferred server location from the list.
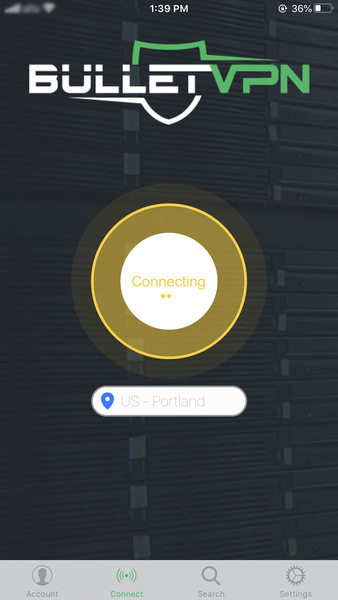
- Tap “Connect”
- Once you’re in the green, you’re fully protected.


Method B: Manual Setup
If your iPhone or iPad has an outdated operating system that doesn’t support the VPN application anymore, you can set up a VPN connection manually. All iOS devices have a built-in VPN solution. However, you’ll have to make do without some critical security and privacy features like the kill switch or leak protection.
Furthermore, you can’t use OpenVPN, one of the safest and most popular VPN protocols. Instead, your best options are the IKEv2/IPSec and L2TP/IPSec protocols.
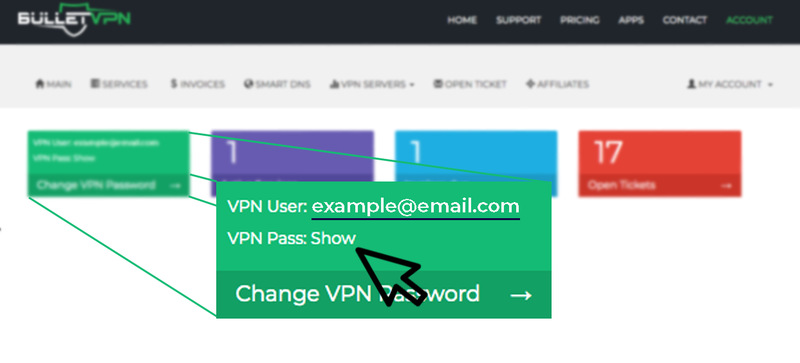
Step 1: Sort Your Username and Password
Before you start manually configuring a VPN on your iOS device, you must find your username and password. You must have both credentials ready because you’ll need them later on in the setup process. We’ll once again use BulletVPN as an example.
The username is the email address you used to create your BulletVPN account. As for the VPN password, you’ll find it in the client area in the top-left green box next to “VPN Pass”. Click Show to view it.
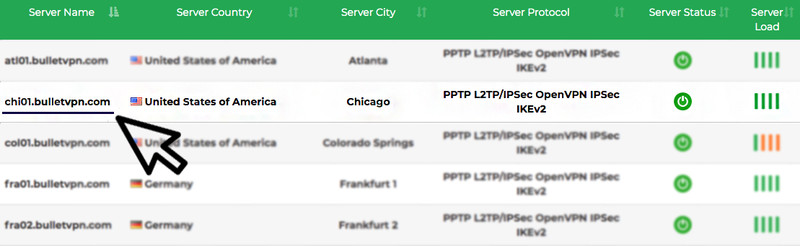
Step 2: Get the VPN Server Address
To find the server address you want to use, click on the Servers List. Then, locate the VPN server address under Server Name.
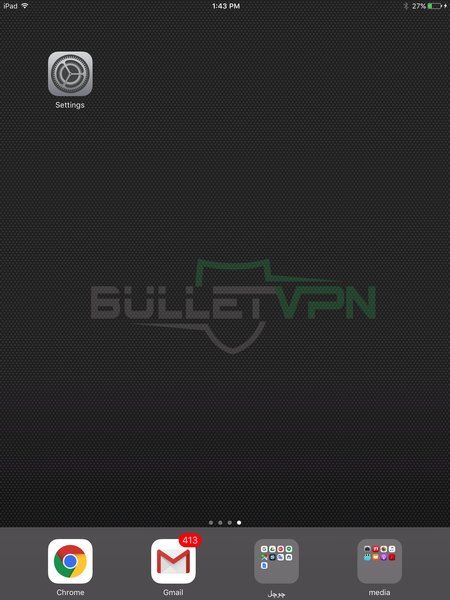
Step 3: Commence iOS Configuration
Once you have your username, password, and VPN server address, you can start setting up a VPN connection on your iPhone or iPad.
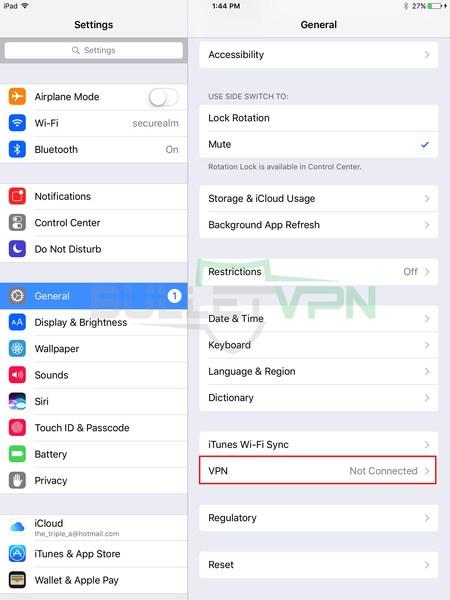
- Tap “Settings”
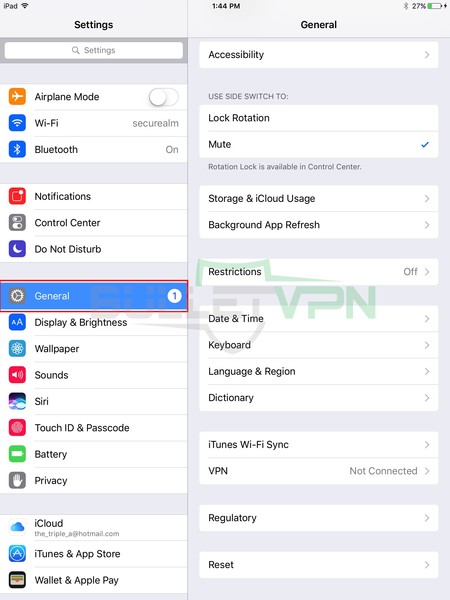
- Next, hit “General” -> “VPN”
- Tap “Add VPN Configuration”
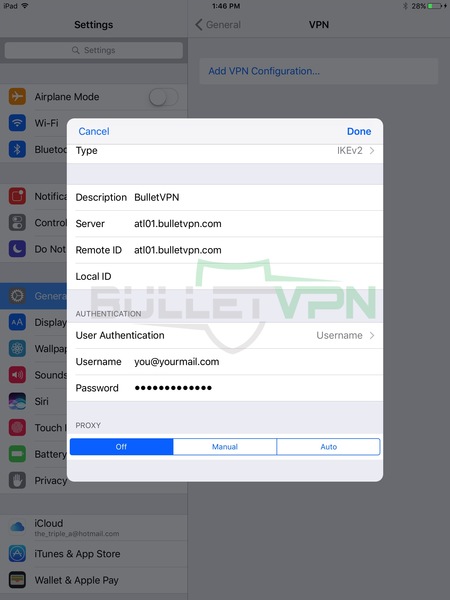
- Hit “Type” and choose “IKEv2,” and insert the following:
– Description: BulletVPN(or any other name)
– Server: Copy the VPN server address you found above
– Remote ID: Also, Copy the VPN server address you found above
– Username: Your account email address
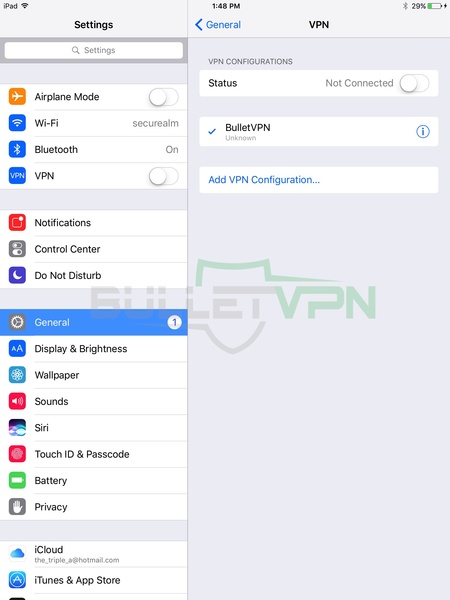
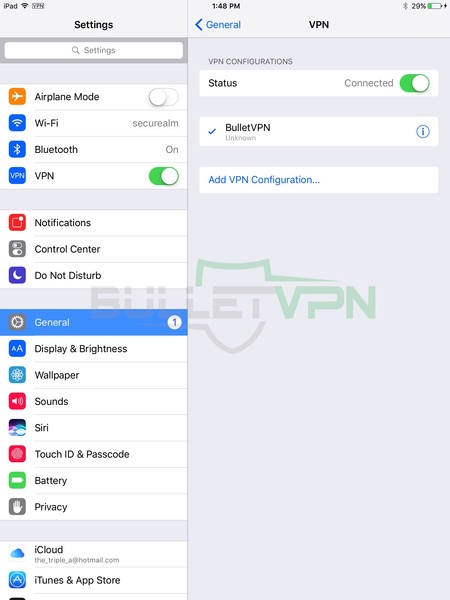
– Password: Copy the VPN password you found above - The BulletVPN profile is now created. Enable VPN option and wait to connect VPN
- Your VPN connection is now live.
Frequently Asked Questions
Take a look at the most frequent questions we received from our readers concerning iPhone/iPad VPNs.
Do I need a VPN on my iPhone/iPad?
Definitely. Premium VPNs allow you to anonymously browse the internet and access geo-restricted or censored content. They also protect your sensitive data and online activities when you’re using public WiFi.
Should I use a free VPN on iPhone?
Free VPNs are dangerous because they make money by collecting and selling your data. They don’t have zero-logs policies or reliable encryption and can’t give you access to blocked content.
Which VPN is best for iPhone/iPad?
Only stick to elite VPNs with strong encryption, a no-logging policy, and a 30-day money-back guarantee. There are several providers with premium features. Our top recommendations are ExpressVPN and BulletVPN.
Can I download a VPN on any iOS version?
Top VPNs have dedicated apps for the latest iOS versions like 15, 14, 13, 12, 11, and even 10. But you may have to set it up manually if you have older iOS versions and models.
Can I use my VPN on other devices?
Yes. Premium VPNs allow a minimum of 5 simultaneous connections per account. That means you can protect up to 5 devices with a single subscription. Alternatively, set up a VPN on your router and protect any device that connects to your WiFi.
Set Up VPN on iPhone/iPad – Final Words
Installing a VPN on your iPhone or iPad bolsters your online privacy and security and gives you wider internet access at the same time. Premium providers unblock geo-restricted streaming services and censored websites, while also encrypting your sensitive data and hiding your location.
Most VPNs have ready-made apps for iOS. But in case you can’t install the app on your device or don’t want to, you can set up a VPN connection manually, albeit a little more effort and fewer features.